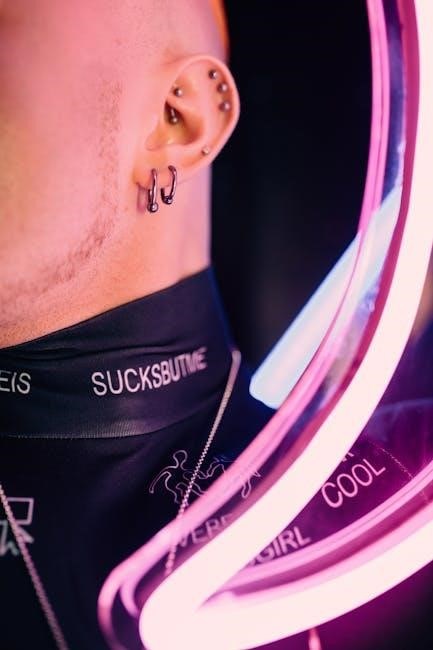
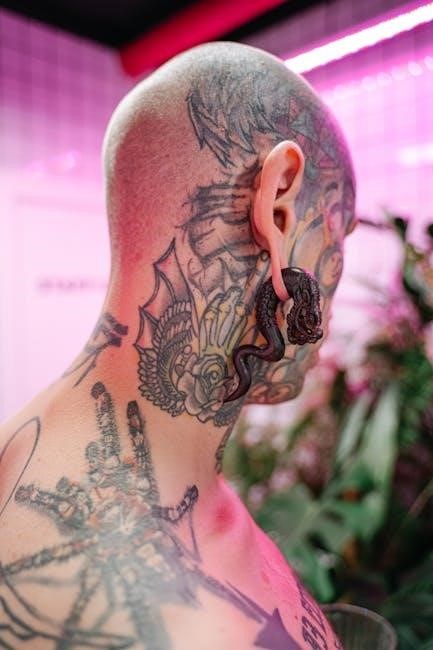
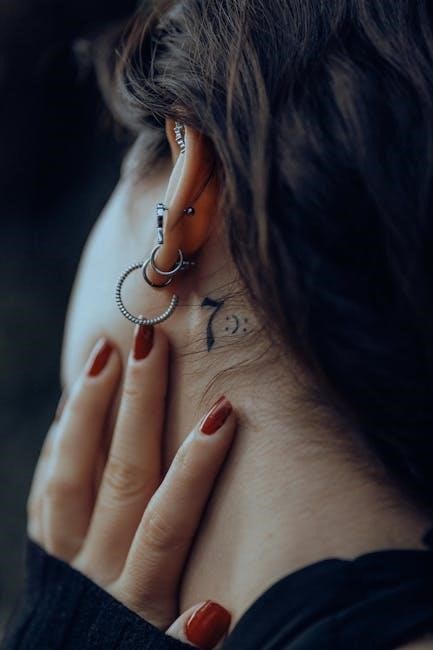
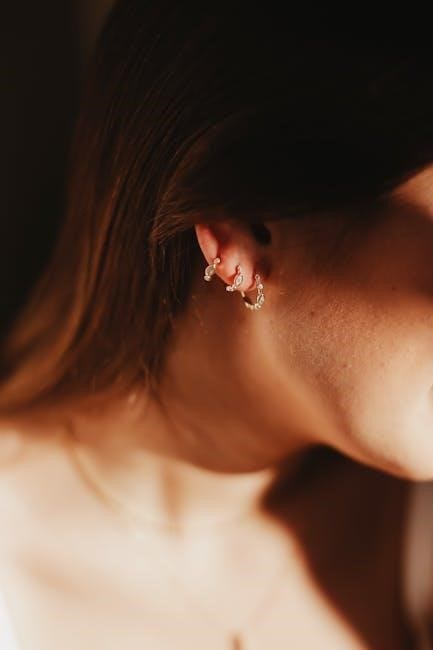
Welcome to our Ear Piercing Guides section, where you’ll find everything you need to know about ear piercings. From types of piercings to aftercare tips, jewelry options, and the piercing process, this guide will help you make informed decisions for a safe and stylish experience.
Whether you’re considering your first piercing or adding to your collection, this comprehensive resource covers it all to ensure your journey is both enjoyable and successful.
Importance of Proper Ear Piercing Techniques
Proper ear piercing techniques are essential for a safe and successful experience. Using clean, high-quality equipment ensures minimal risk of infection and promotes smooth healing. Professional piercers prioritize hygiene, using sterilized needles that create precise holes, reducing tissue damage. Piercing guns, while common, can cause unnecessary trauma and are harder to sanitize.
Correct techniques also minimize pain and swelling, making the process more comfortable. Aftercare is simplified when the piercing is done accurately, as it reduces complications. Investing in a skilled piercer guarantees a better outcome, avoiding long-term issues like keloids or migration. Proper methods ensure the piercing heals quickly and looks its best, making it a crucial step in achieving the desired aesthetic. Always choose a reputable studio to ensure safety and satisfaction.
Brief History of Ear Piercings
Ear piercings have a rich history that spans thousands of years, with evidence of the practice dating back to ancient civilizations. In early cultures, piercings were often symbolic, representing status, spirituality, or cultural identity. For example, in ancient Egypt, Greece, and Mesoamerica, ear piercings were worn by royalty and spiritual leaders as signs of power and divine connection.
Over time, ear piercings evolved, becoming a fashion statement in various societies. By the Middle Ages, ornate earrings were popular among the wealthy, while in other cultures, piercings held ritualistic significance. The practice declined in some regions but saw a resurgence in the 20th century, particularly in the 1960s and 1970s, as part of the counterculture movement. Today, ear piercings are a global phenomenon, embracing diversity and personal expression. This timeless form of adornment continues to evolve, blending tradition with modern styles and techniques.
Benefits of Getting an Ear Piercing
Getting an ear piercing offers a variety of benefits, from self-expression to personal style enhancement. It allows individuals to showcase their unique personality and aesthetic preferences, making it a popular form of body modification.
Ear piercings can boost confidence and empower individuals to embrace their identity. They also provide an opportunity to explore creative jewelry options, adding versatility to one’s look. Additionally, piercings can serve as a meaningful way to connect with cultural or social traditions.
The process is relatively quick, and while it may cause minor discomfort, the results are long-lasting and rewarding. Proper aftercare ensures a smooth healing process, making it a safe and accessible form of self-expression for many.

Types of Ear Piercings
Explore the diverse world of ear piercings, from classic lobe piercings to unique options like helix, tragus, and conch. Each type offers distinct placement and aesthetic appeal, catering to individual styles and preferences.
Standard Lobe Piercing: Features and Popularity
The standard lobe piercing is the most common and traditional ear piercing type, located on the fleshy part of the earlobe. It is known for being the least painful and easiest to care for, making it a popular choice for people of all ages. This piercing offers versatility, as it can accommodate a wide variety of jewelry, from simple studs to elegant hoops. Its low-maintenance nature and quick healing process, typically taking 6-8 weeks, contribute to its widespread appeal. Many opt for lobe piercings as their first piercing due to its timeless style and minimal discomfort. Additionally, the lobe piercing is often considered a versatile starting point for those exploring multiple ear piercings. Its classic look ensures it remains a favorite among individuals seeking a subtle yet stylish addition to their appearance.
Helix Piercing: Characteristics and Placement
The helix piercing is located along the upper edge of the ear, known as the helix, and is a popular choice for those seeking a stylish and modern look. It involves piercing any part of the helix, offering flexibility in placement. This piercing is less painful compared to inner ear options like the conch but more so than a standard lobe piercing. Healing typically takes 6-9 months, during which proper aftercare is essential to prevent complications. The helix piercing is versatile, accommodating various jewelry styles such as studs, hoops, and rings. Its placement on the outer rim of the ear makes it a great addition to a stacked look. Many opt for multiple helix piercings for a bold aesthetic, making it a favorite among those exploring cartilage piercings. Its subtle yet striking appearance ensures the helix piercing remains a timeless choice in ear adornment.
Tragus Piercing: Aesthetic and Care Tips
The tragus piercing, located on the small flap of cartilage in front of the ear canal, offers a unique and delicate aesthetic. It’s a popular choice for those seeking a subtle yet stylish addition to their ear. The tragus can be adorned with various jewelry types, such as studs, hoops, or rings, allowing for personalization to suit different styles. Proper aftercare is essential for healing, with saline solution recommended for cleaning. Avoid using harsh chemicals like rubbing alcohol, as they can irritate the area. Keep the piercing clean and avoid tight jewelry that may cause discomfort. Healing typically takes 6-9 months, during which consistent care is crucial to prevent infections. Patience and gentle handling are key to ensuring a smooth recovery and maintaining the piercing’s appeal. With proper care, the tragus piercing can be a beautiful and lasting addition to your look.
Rook Piercing: Healing Process and Jewelry Options
The rook piercing, located in the upper part of the ear, is known for its striking appearance and unique placement. The healing process typically takes 6-9 months, with proper care essential to prevent complications. During this time, it’s important to clean the piercing regularly with a saline solution and avoid tight or heavy jewelry that may strain the area. Once healed, the rook piercing offers versatility in jewelry choices, such as rings, hoops, or studs. Opt for high-quality, hypoallergenic materials like surgical stainless steel or titanium to minimize irritation. Avoid changing jewelry too soon, as this can prolong healing. Patience and consistent aftercare are key to ensuring a smooth recovery and a visually appealing result. With the right care, the rook piercing can become a standout feature in your ear styling.
Daith Piercing: Unique Placement and Benefits
The Daith piercing, located in the inner ear’s ridge just above the ear canal, offers a unique and stylish aesthetic. Its placement makes it a popular choice for those seeking a subtle yet striking look. One of the key benefits is its potential to alleviate migraine symptoms, as some claim it targets a pressure point. However, this is not scientifically proven. The piercing typically takes 6-9 months to heal, requiring consistent aftercare with saline cleaning. Jewelry options include rings, hoops, or studs, with smaller designs often preferred for this delicate area. The Daith piercing is celebrated for its versatility and understated charm, making it a favorite among those exploring cartilage piercings. Its unique placement also adds a touch of individuality, enhancing overall ear styling.
Conch Piercing: Inner Ear Beauty and Considerations

The Conch piercing is a stunning option for those drawn to inner ear aesthetics. Located in the shell-shaped area of the ear, it offers a striking visual appeal. This piercing is ideal for individuals who want a delicate yet noticeable addition to their ear styling. One key consideration is the potential for a longer healing process, typically ranging from 6 to 12 months. Proper aftercare is essential to prevent complications. Jewelry choices, such as hoops or studs, should complement the ear’s natural curves. The Conch piercing is celebrated for its ability to enhance the inner ear’s beauty while providing a unique, customizable look. However, it’s important to weigh factors like pain tolerance and lifestyle before opting for this piercing. Consulting a professional piercer is highly recommended to ensure a successful and satisfying experience.
Anti-Tragus Piercing: Versatility and Style

The Anti-Tragus piercing is a versatile and stylish choice, located on the inner ridge opposite the tragus. It adds a subtle yet distinctive touch to your ear’s aesthetic. This piercing is ideal for those who want a unique look without committing to more intricate designs. The Anti-Tragus is known for its compatibility with various jewelry styles, including studs, hoops, and rings, allowing for personal expression. However, it’s important to consider the healing process, which typically takes 3 to 6 months. Proper aftercare is crucial to avoid complications, such as irritation or infections. While the piercing may cause moderate discomfort, many find it manageable. The Anti-Tragus piercing is a great option for those seeking a balance between elegance and edginess, offering endless possibilities for customization and style.

Ear Piercing Process
Ensure a safe and professional experience by choosing a reputable studio. Preparation includes cleaning and marking the area. Expert piercers use needles or piercing guns, following hygienic practices for precise placement and minimal discomfort.
Choosing the Right Piercing Studio
Choosing the right piercing studio is crucial for a safe and positive experience. Research reputable studios with licensed professionals and a clean environment.
Check for sterilization equipment, such as autoclaves, and ensure piercers use disposable needles. Read reviews and ask for recommendations to gauge reliability.
A professional studio will prioritize hygiene, use high-quality jewelry, and provide clear aftercare instructions. Avoid studios that use piercing guns, as they are harder to sanitize and may cause more tissue damage.
Visit the studio beforehand to observe cleanliness and meet the piercer. A trustworthy studio will answer all your questions and ensure you feel comfortable. Remember, a higher cost often reflects better quality and safety standards.
Pre-Piercing Preparation: What to Expect
Before getting your ear pierced, proper preparation is essential for a smooth experience. Ensure your ears are clean and free of dirt or oils. Avoid consuming alcohol or caffeine beforehand, as these can increase sensitivity.
Eat a light meal to prevent lightheadedness during the procedure. Remove any makeup or lotions that might interfere with the piercing process. Wear comfortable, easy-to-access clothing, especially if you’re getting an upper ear piercing.
Bring a valid ID if required and consider having a friend or family member accompany you for support. Let your piercer know about any medical conditions or allergies, especially to metals.
At the studio, expect to fill out a consent form and discuss your piercing preferences. This preparation ensures a safe and stress-free experience, allowing you to focus on achieving the look you desire.
The Role of Piercing Guns vs. Needles
Piercing guns and needles are two common methods used in ear piercings, but they differ significantly in technique and safety. Piercing guns force a stud through the tissue, which can cause tearing and is often less precise. They are commonly used for lobe piercings but are not recommended for cartilage due to the risk of damage.
Needles, on the other hand, create a small, clean hole for jewelry insertion, promoting better healing and reducing scarring. Professional piercers prefer needles as they are more hygienic and allow for greater control.
While guns are faster and more accessible, needles are generally safer and more versatile for various piercing types. Choosing a reputable studio that uses needles ensures a safer and more precise experience, especially for cartilage piercings.
Step-by-Step Piercing Procedure
The piercing process begins with proper preparation, ensuring the area is clean and marked accurately. A professional piercer will disinfect the ear and use a needle to create a precise hole.
The piercing is done quickly, and jewelry is inserted immediately to keep the hole open. Afterward, the piercer provides aftercare instructions, such as cleaning with saline solution and avoiding tight clothing.
Using high-quality jewelry and following care tips ensures proper healing. The entire process is designed to be safe, hygienic, and as painless as possible, with the piercer guiding you through each step for a smooth experience.
Ear Piercing Aftercare
Proper aftercare is crucial for healing. Clean piercings with saline solution daily, avoid harsh chemicals, and keep jewelry in place. Monitor for signs of healing or infection to ensure a smooth recovery.
Essential Cleaning Solutions for Healing
Proper cleaning is vital for healing ear piercings. A saline solution, made by dissolving 1/4 teaspoon of sea salt in 8 ounces of warm water, is highly recommended. Gently soak the piercing with a clean cotton ball or pad dipped in the solution. Avoid using harsh products like rubbing alcohol, hydrogen peroxide, or harsh soaps, as they can irritate the skin and delay healing. Instead, opt for mild, fragrance-free soap solutions or specialized piercing aftercare sprays. Clean the piercing 2-3 times daily to remove bacteria and promote a healthy recovery. Always use clean hands and avoid submerging the piercing in water, such as swimming, until fully healed. Regular cleaning helps prevent infections and ensures a smooth healing process.
Do’s and Don’ts During Healing
During the healing process, it’s crucial to follow proper care practices to avoid complications; Do keep the piercing clean with saline solution or mild soap, and avoid tight clothing that may irritate the area. Touch the piercing only when cleaning, and avoid playing with the jewelry, as this can introduce bacteria. Don’t submerge the piercing in water, such as swimming, until it’s fully healed. Avoid using harsh products like rubbing alcohol or hydrogen peroxide, as they can slow healing. Refrain from changing the jewelry too soon, as this can cause irritation. Don’t forget to follow the advice of your piercing professional, as they may provide additional guidelines based on your specific piercing type. By adhering to these do’s and don’ts, you can promote a smooth and healthy recovery.
Signs of Proper Healing vs. Infection
Recognizing the signs of proper healing versus infection is essential for maintaining a healthy piercing. Proper healing typically involves minimal redness, swelling, or discharge, with the piercing becoming less tender over time. A small amount of yellow or clear discharge is normal and indicates the healing process.
However, if you notice increased redness, swelling, warmth, or thick, cloudy pus, it may be a sign of infection. Other indicators include persistent pain, a foul smell, or fever. If you experience any of these symptoms, consult a professional immediately. Do not attempt to treat the infection yourself without guidance. Proper care and monitoring are key to distinguishing between normal healing and potential complications. By staying vigilant, you can ensure your piercing heals smoothly and avoid unnecessary setbacks.
Timeline for Different Piercing Types
Understanding the healing timeline for different ear piercings is crucial for proper aftercare; Lobe piercings typically heal within 6-8 weeks, while cartilage piercings, such as the helix, may take 6-12 months.
Rook piercings often require 6-9 months for full healing, and daith or conch piercings may take up to a year. Industrial piercings, which involve two holes connected by jewelry, can take 9-12 months to heal completely.
Keep in mind that healing times vary depending on the individual and the piercing type. Proper aftercare and patience are essential to ensure the piercing heals smoothly. Always follow your piercer’s advice and monitor the piercing’s progress to avoid delays. By understanding these timelines, you can better manage expectations and care for your new piercing effectively.
Ear Piercing Jewelry
Choosing the right jewelry for your piercing is essential. Opt for high-quality, hypoallergenic materials like surgical stainless steel, titanium, or gold. Avoid nickel to prevent allergic reactions.
Studs, hoops, and rings are popular options, but ensure they fit comfortably and suit your piercing type. Proper jewelry selection supports healing and enhances the piercing’s appearance.
Choosing the Right Jewelry for Your Piercing
Choosing the right jewelry for your piercing is crucial for both aesthetics and comfort. Opt for high-quality materials like surgical stainless steel, titanium, or solid gold, as these are hypoallergenic and safe for sensitive skin.
Studs, hoops, and rings are popular options, but ensure they fit your piercing type and lifestyle. For example, delicate studs are ideal for lobe piercings, while hoops or rings may suit helix or tragus piercings better.
Consider the thickness of the jewelry, as thicker gauges are more durable but may take longer to heal. Avoid jewelry with nickel to prevent allergic reactions.
Ultimately, your choice should balance style, comfort, and functionality. Consulting a professional piercer can help you make the best decision for your specific piercing.
Material Safety and Allergy Considerations
Material safety is paramount when selecting jewelry for your piercing. Opt for hypoallergenic materials like surgical stainless steel, titanium, or solid gold, as they are less likely to cause allergic reactions.
Avoid jewelry containing nickel, as it is a common allergen and can lead to irritation or infection. Brass and plastic jewelry are also not recommended, especially for fresh piercings, due to potential reactions.
High-quality materials promote healing and reduce the risk of complications. If you have sensitive skin, consider implant-grade titanium or 14k solid gold for their biocompatibility.
Always check for certifications or markings like “nickel-free” to ensure safety. Consulting a professional piercer can help you choose the best material for your needs and prevent allergic responses.
